The kitchen has more fragile, awkwardly-shaped items than any other room. Our packing crews handle hundreds of kitchens every month — here’s the exact process we follow.
Supplies You’ll Need
- Medium and small boxes (heavy items go in small boxes)
- Dish pack boxes (cell dividers for glasses)
- Packing paper (not newspaper — ink transfers)
- Bubble wrap for fragile items
- Packing tape and a marker
Step 1: Declutter First
Check expiration dates on pantry items. Toss anything expired, nearly empty, or that you haven’t used in a year. Moving food you won’t eat costs money.
Step 2: Pack Plates and Bowls
Wrap each plate individually in packing paper. Stack vertically (on edge, like records) — never flat. Plates stacked flat are far more likely to crack from top pressure.
Step 3: Glasses and Stemware
Stuff the inside of each glass with crumpled paper, then wrap the outside. Use cell boxes if possible — they prevent glasses from touching each other.
Step 4: Appliances
Use original boxes if you have them. If not, wrap in bubble wrap and pack snugly in a box with paper fill. Remove blades from blenders and food processors.
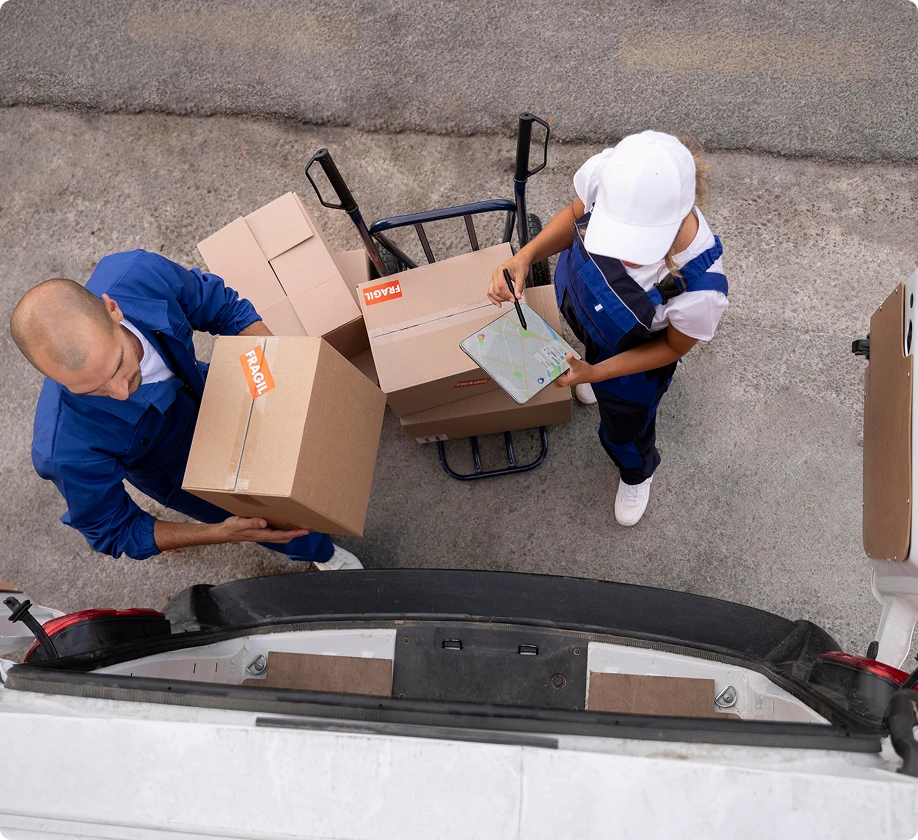
When to Hire Professionals
If you have high-value items — fine china, crystal, or collectibles — professional packing is worth the investment. Our team uses specialized materials and techniques that prevent damage.
Questions? Talk to a move coordinator.
Free advice. No sales pitch. Just answers from people who do this every day.